Jeff Andrews

Here’s a great DIY project to organize your garage and add value to your home.

If your garage is disorganized, this project is for you! And for most people, a disorganized garage is a big obstacle to getting house projects done, not to mention being able to keep your car out of the cold weather in the winter. Having an organized garage, a clean workbench, and tools you can find is worth the time you’ll put into this project.

This past summer, we decided the garage needed a thorough cleaning and a complete upgrade. Clutter seemed to encourage more and more clutter. The dirty, rusty metal shelves which collected junk needed to go. I set out to build the ultimate garage cabinets and shelves.

Our garage organization priorities:

1. Organize everything in storage shelves for items including kids toys, sports gear, camping equipment, landscaping tools, and car cleaning gear

2. Get two cars in the garage

3. Build sliding barn doors for a clean, modern look

4. Leave room for ladders and yard tools (e.g. rakes, shovels)

A number of people have asked me for my plans. Here’s an overview of what I built. This project will take about 2 full weekends to build. The materials will cost around $800 if you build both sections or about $500 for a single section.

I do offer my plans in the link below which will save you hours of time and likely materials as I have complete lists of what you’ll need and cut lists.

Modern cabinets with sliding barn doors

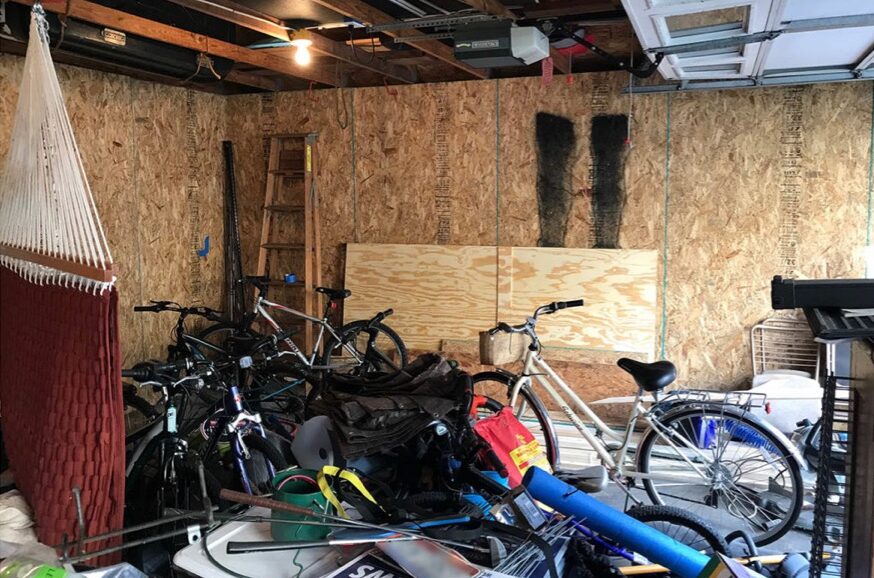
Our garage is 22ft wide by 20ft deep. To maximize the storage on the back garage wall, I outlined plans for two sets of 8 foot wide storage shelves that are 18 inches deep. Each set has 3 storage sections. To give the cabinets a modern, finished look, we decided to use sliding barn doors.

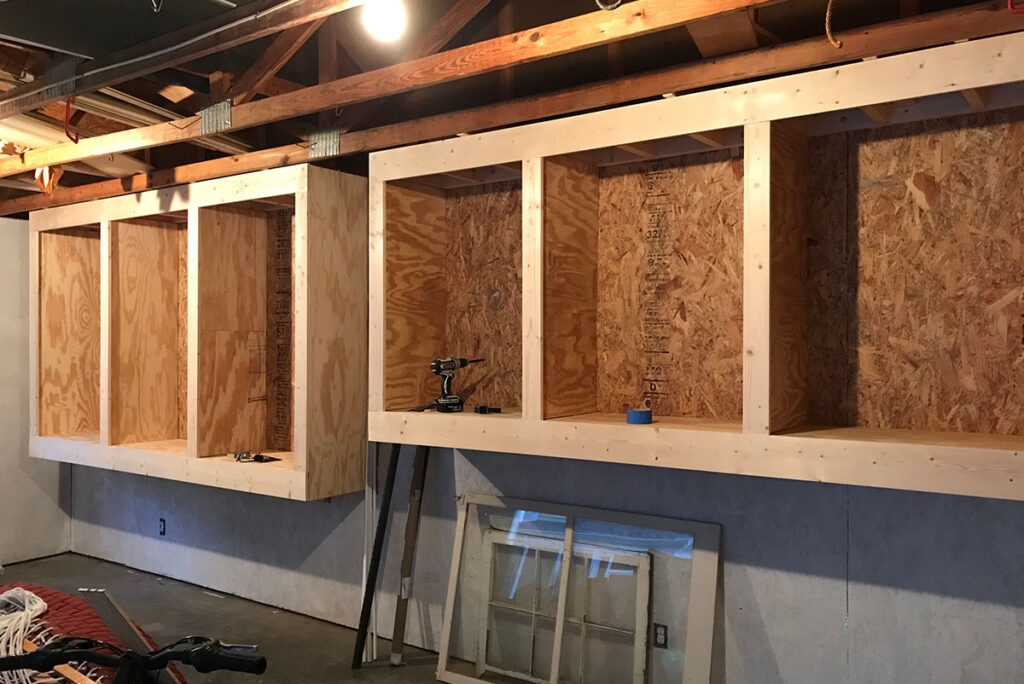
The core structure is built mostly from 2x4s, 2x2s and plywood. If you’re looking to buy a new tool and don’t have a nail gun or a good circular saw, here’s your excuse! And if you’re looking for sliding barn door hardware, I picked these and the shelf hardware up on Amazon (links below to the exact items I used).

One of the two cabinets is higher off the floor to accommodate an SUV when parked in the garage and bicycles underneath.

Here’s the before shot:

Halfway through the build:

And the after…Much better organized now!

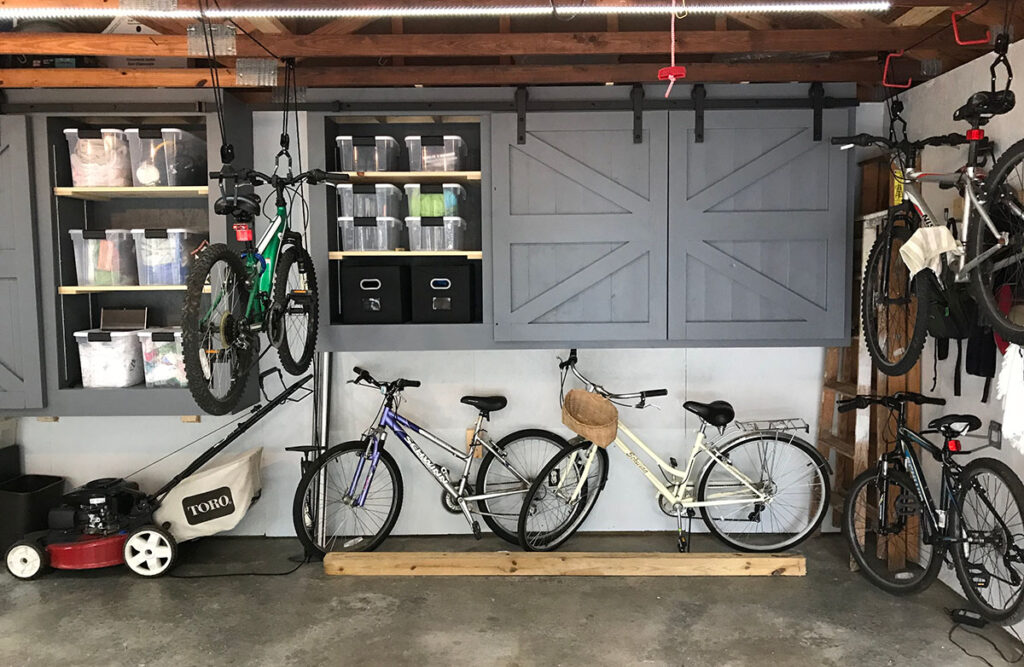
As you can see in the pictures, I upgraded my garage lights by installing LED strip lights. I also upgraded the garage door openers to Chamberlain B550’s with MyQ/Homekit for automation.

My plans available with materials, tools, cut lists and diagrams...

My full plans are available for $20 and include all materials needed, tools you'll need, a cutting list, a build diagram and step by step instructions (along with a handful of tips...see thumbnail image of plans). These will save you hours of time and save you a few trips to Home Depot!

Various items I used

Here are the hardware and items I purchased on Amazon (I may receive a very small commission from Amazon). The sliding door hardware needs to be the proper width (i.e. if you modify the cabinet widths, ensure your hardware has matching dimensions). The storage bins are sized to fit the design plans.
Sliding Barn Door Hardware (10 ft)
Steel Shelf Standards (5ft) by Knape & Vogt
Steel Shelf Standards (4ft)
Shelf Standard Nails (bag of 50)
Shelf Support Clips by Knapp & Vogt
LED Light Strip
LED Power Adapter
Chamberlain B2405 Garage Door Opener  (Note: I used the former B550 model; this is the updated similar model)
Storage Containers (30-quart) 6-pack
Storage Containers (18-quart) 6-pack